Animating of the Cocking Walther PPK
The making and animating of the cocking handgun is relatively simple as it mainly uses only key frames for it to function.
The handgun itself was constructed earlier when designing and creating objects. The handgun was then imported into the scene along with a bullet, that was constructed in illustrator and imported into 3DS Max where the Lathe tool was applied to it and a golden material to give the bullet its colour. The bullet was split into two parts using edit poly and welding up the ends where the object was split.
The top of the handgun and trigger were then animated on the timeline using the auto key frame so that it would slide back along with the trigger.
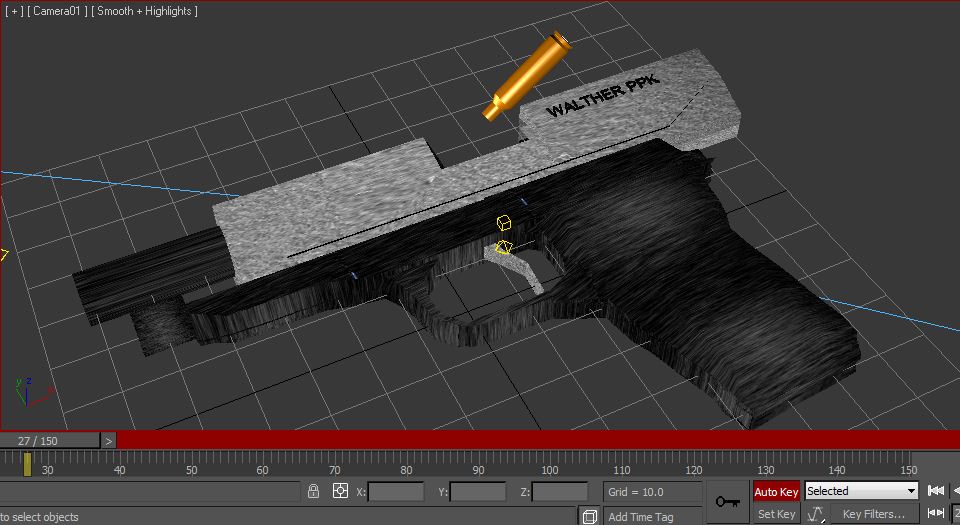
Half way through this animation the bullet was positioned and using key frames on the timeline was animated so that it looked as though it was ejecting out of the guns barrel.

The bullet was animated in the same way as above but was positioned so that it would travel out of the front of the barrel as the top of the gun was firing back. This was created using key frames on the timeline. Using the Track View Curve Editor the animations were finalised and smoothed with more precise and detailed adjustments and timing.

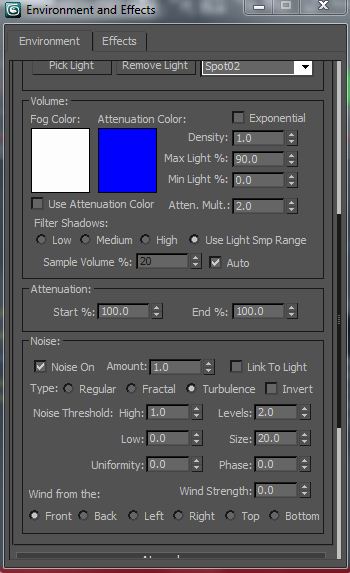
Cameras and lighting were then positioned into the scene. The effects of fog that surround the gun are formed by adding a noise modifier in the setup of the light beam.
Using target cameras and lighting the bullet and movements of the cocking gun could be captured smoothly and always remain lit. The camera and lighting were locked onto the target objects using the ‘Link’ tool.

No comments:
Post a Comment