Bones Tutorial
Adding Bones
In this tutorial we learnt how to apply bones into animated people in order to create an effect of limbs moving.
The first stages of this were using a pre-made object of the top half of a human, the body and the two arms. Using the bones tool the construction of the inside bones were made. These were the top part of each arm and the lower part including the hands. In order for the bone tool to work effectively the main body sector was also given a bone in order for the other arm bones to function from.

Once the bones were positioned inside of the arm it was essential that the IK System was used. This enabled the bones to move on a pivot so that when the hand was moved the top part of the arm would function and move like it would in real life.

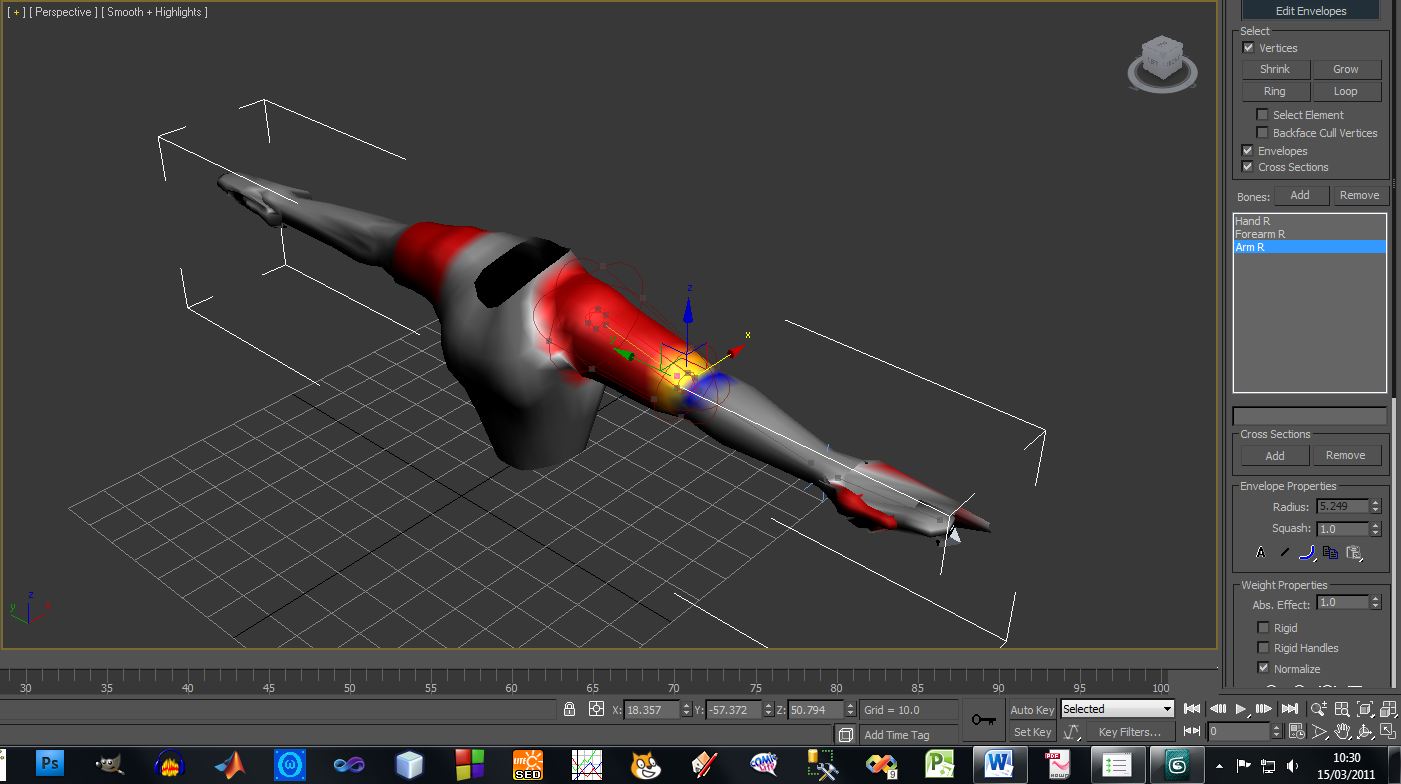
Adding Skin Modifier and Envelopes
To ensure that the bones were applied to the entire object, known in this section as the skin, a skin modifier was applied to the object and the bones then added into the skin. To ensure that all of the skin was covered when the bones would operate a function known as the envelopes was used. This enabled the adjustment of how much each of the bones would affect different parts of the skin to ensure that when a particular part of the bone moved, so would the surrounding skin.
I found that this was particularly useful as part of my project as I required a man to be positioned correctly over a motorbike in a scene and the bone tool would allow my figures limbs to be rotated and bent into position. Another function known as the ‘Biped Tool’ would work more effectively in my project; this is similar to the bone tool and functions in the same way but is a prebuilt skeleton of a human, already part of the 3ds Max program.
No comments:
Post a Comment